Any time we brand, we have a big crew. It takes a lot of help so we recruit a lot
of family and friends to get the job done.
The pay is a chance to get to rope, train your horse and get a good meal
when the works done. I figure I put in
enough time in the kitchen preparing a meal for everyone, that I can skip my
turn on the ground work and go to roping.
No matter what you serve, it’s a good dessert that makes the
meal. I learned of a few variations of
brownies that I use and are a big hit.
You can use any brownie recipe. This recipe I’m going to share is my favorite. I have never had a homemade brownie recipe
that has the chewy texture and shiny crust top like you get with a boxed
brownie, until I used this recipe.
This recipe will fit a 13"x 18" cookie sheet.
Brownie recipe:
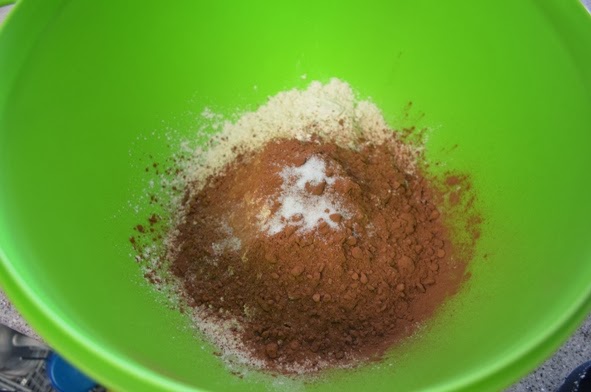
1-1/2 cups flour
2 Tablespoons cocoa
1/2 teaspoon salt
Put dry ingredients
in bowl and mix with wire whisk.
1 cup butter (2 sticks)
10 oz. Peter’s dark chocolate (Burgandy) chopped
1-1/2 cups granulated sugar
½ cup light brown sugar
6 large eggs
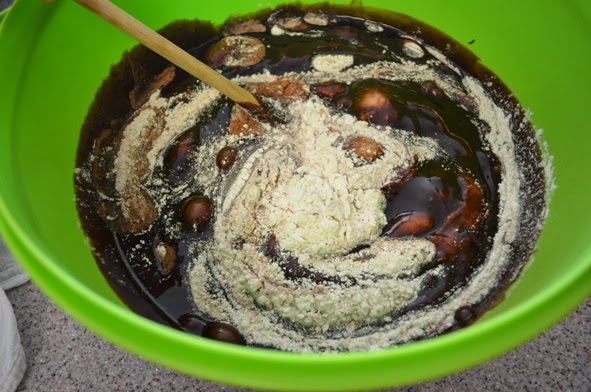
Over medium heat, melt butter. Add chocolate and stir until melted.

Remove from heat and add sugars. Stir sugars until no longer looks grainy. I think this is the secret to getting the shiny crust on top of the brownies.


Add eggs and mix thoroughly with whisk.
Pour mixture into dry ingredients and fold in until just
mixed. Do not over beat.

Pour into 13" x 18" greased cookie sheet and bake 350 degrees F
for 25-30 minutes or until toothpick comes out clean when inserted in center.
This is the finished brownie and it has that crust and chewy
texture that I love.

Variations to Brownies
I got this first variation idea from Caprice. This is soooo good. Thank you Caprice.
Pour over top of un-cooked brownie batter:
1 can sweetened condensed milk
2-4 chopped Almond Joy candy bars
I wanted more stuff on top so I made my own.
*1 batch of coconut center (Coconut center recipe available on my DVD #2)
*Peter’s chocolate chunks
(Everything is better with lots of Peter’s chocolate.)
*Chopped almonds

Bake at 350 F for 25-30 minutes or until done.

This second variation I got from my sister-in-law
Carlene.
Spread miniature marshmallows on top of baked brownie and
put in middle rack in the oven. Turn on
the oven to broil. Watch carefully
because it only takes a few minutes until melted or slightly brown.
Melt Peter’s milk chocolate (Ultra) and ½ cup peanut
butter. Add rice krispy until coated
well. Spread on top and let cool.


These brownies are some of my favorite. You'll love them!


